
EASE FOCUS 3 tutorial
Line Array Speaker Setup and Optimization Guide
This Ease Focus 3 tutorial provides a detailed introduction to the steps of importing speaker data, drafting audience zones, adjusting speaker placement, and optimizing the sound field.
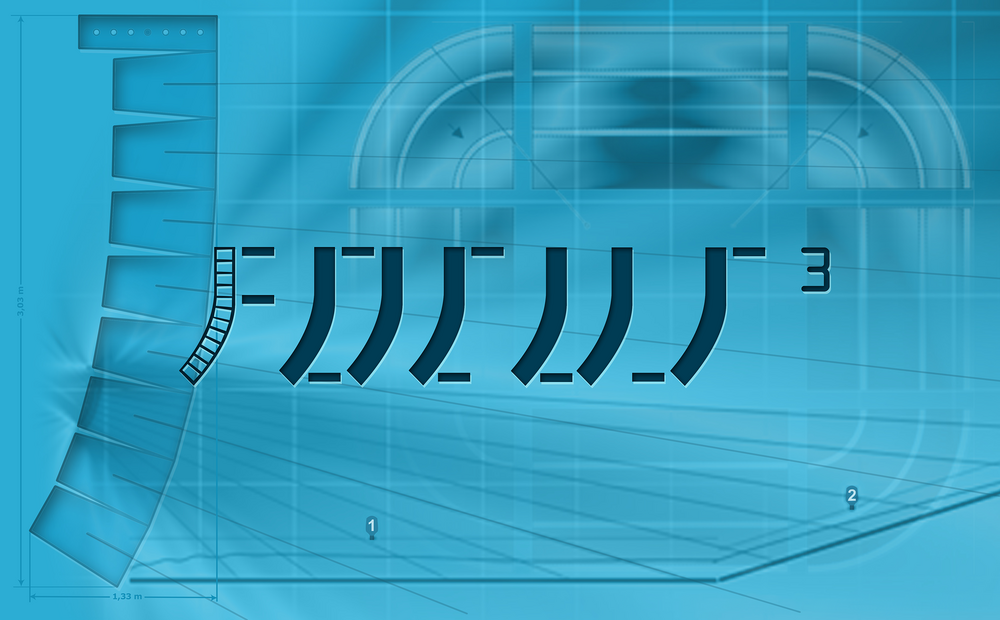
1. Importing Speaker Data
- Launch EASE FOCUS 3 by double-clicking the application icon
- Navigate to:
File → Import System Definition File - Select:
”ZSOUND Line Array V2.g11″ file - Save output as:
- Format: Drawing (*.bmp)
- Select all desired output drawings
- Press Enter to confirm
Note: For optimal visibility in EASE FOCUS 3, set a white background in your CAD application.
2. Importing CAD Drawings (Optional)
Skip this section if you don’t have CAD drawings.
- Open drawing in CAD application
- Navigate to:
File → Export → Layout Picture - Select previously saved drawing (*.bmp)
- Configure dimensions:
- Set real-world measurements (e.g., basketball court: 28m × 15m)
- Establish reference point A at coordinates (0,0) for speaker symmetry
3. Creating Audience Zones
- Click the ”Sound Source” icon
- Select:
ZSOUND→ ZSOUNDLine Array → OK - Position speakers by:
- Selecting appropriate model
- Configuring quantity
- Setting hanging method
4. Speaker Placement & Sound Field Optimization
Basic Setup
- Copy/Paste Speakers: Use Ctrl+C/Ctrl+V for symmetrical placement
- Add Fill Speakers: Incorporate two VAM speakers as needed
Auto-Alignment
- Select speakers
- Click ”Auto Splay” → “Start” → “Show Mapping”
Adjustment Methods
Based on sound pressure distribution (weaker from stage rear/sides):
- Reposition or rehang speakers
- Modify main speaker:
- Opening angle
- Height
- Quantity
- Add supplemental fill speakers
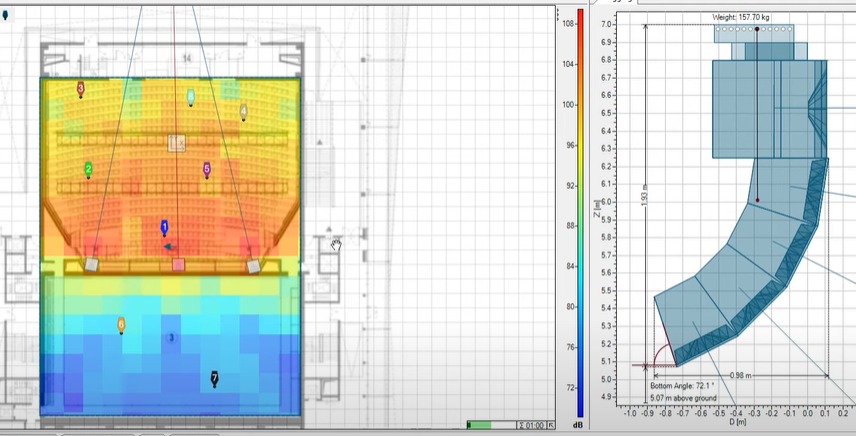
5. Sound Field Verification
Post-adjustment requirements:
- Even sound pressure distribution
- Ideal Benchmark:
- 1kHz frequency
- 105dB target
- ±4dB variation across most areas
6. Receiver Placement
- Position testing microphones in audience areas
- System will:
- Designate first microphone as reference (0ms delay)
- Automatically calculate relative delays for other speakers
7. Advanced Adjustments
Radiation Angle
- Adjust individually in side view
Speaker Parameters
- In top view: Modify gain and delay values
Section Analysis
- Use ”Section Plane” to:
- Move cutting plane
- Observe sound pressure curves
8. Reporting
Generate final documentation:
File → Create Report → OK → Save
Key Concepts (Brief)
Sound pressure range, bar/linear graphs, and time span parameters affect system performance but require separate technical documentation.
Best Practices
- Always verify real-world measurements match digital models
- Prioritize even coverage over maximum SPL
- Document all adjustments for future reference
For advanced optimization, consult EASE FOCUS 3 professional training materials
Leave a Reply