
Line Array Speaker Design and Installation: A Step-by-Step Guide
Line Array Speaker Design and Installation: Key Considerations and Best Practices
Introduction to Design and Installation
Welcome to the second part of our series on line array speakers. In this article, we will delve into the design and installation process of line array speaker systems. We will cover the key considerations, step-by-step installation procedures, and essential tips for a successful setup.
Design Considerations
Before installing a line array speaker system, it is crucial to consider several factors to ensure optimal performance and safety.
- Venue Acoustics:
- Room Size and Shape: The size and shape of the venue will influence the number and configuration of the speakers needed.
- Reverberation Time: Understanding the reverberation time of the room can help in choosing the right type of line array speaker and the necessary acoustic treatments.
- Audience Coverage:
- Horizontal and Vertical Coverage: Determine the required horizontal and vertical coverage angles to ensure even sound distribution. For example, the LA110-E offers a nominal coverage of 90°(H) and 10°(V), which can be adjusted to fit the specific needs of the venue.
- Sound Pressure Level (SPL): Ensure that the chosen line array speakers can deliver the required SPL to cover the entire audience area.
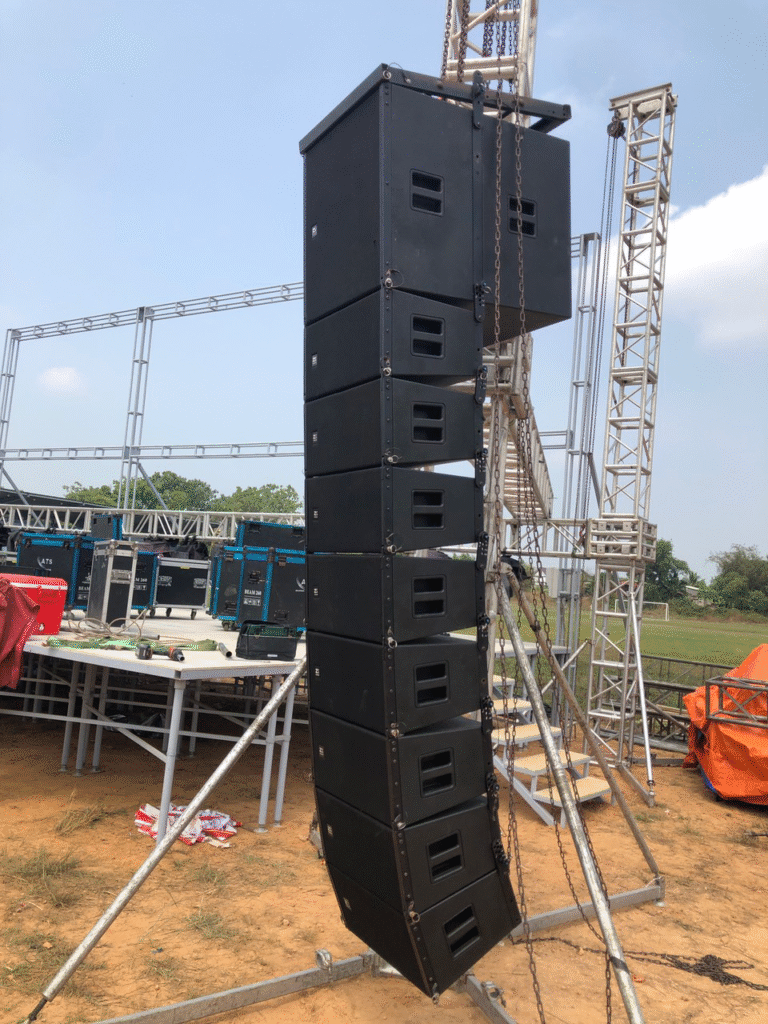
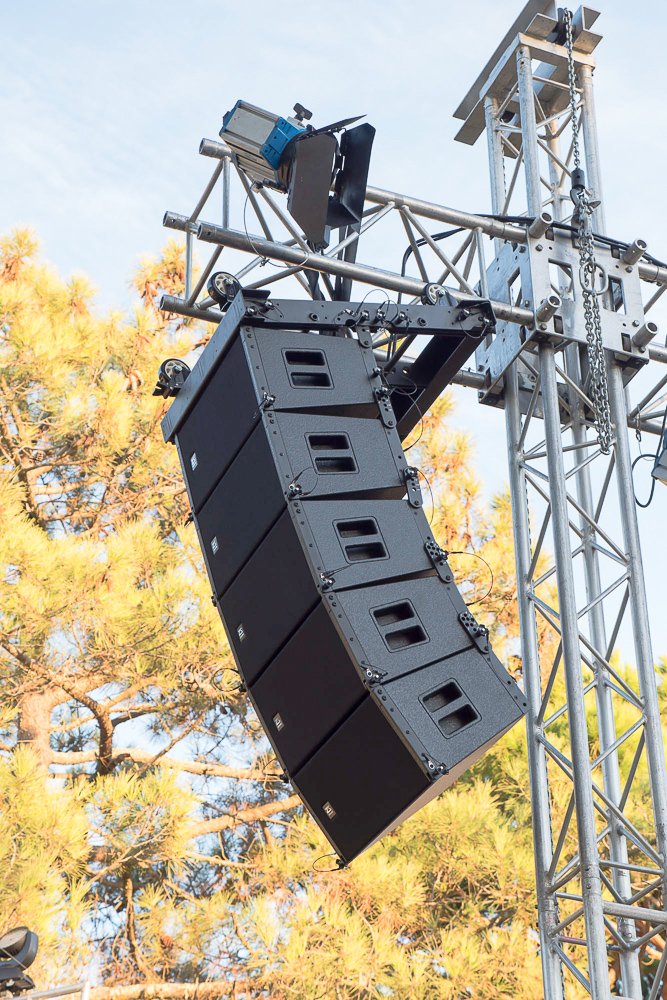
- Rigging System Design:
- Weight and Stability: The rigging system must be designed to handle the weight of the speakers and ensure stability. This includes using high-quality hardware and following manufacturer guidelines.
- Adjustable Angles: Many line array speakers, like the LC10, offer adjustable angles to fine-tune the sound coverage. Ensure that the rigging system allows for these adjustments.

Installation Steps
Here is a step-by-step guide to installing a line array speaker system:
- Site Survey and Planning:
- Measure the Venue: Measure the dimensions of the venue, including the height, width, and depth.
- Identify Mounting Points: Determine the best mounting points for the speakers, considering the structural integrity of the venue.
- Create a Layout Plan: Use software like Ease Focus 3 to create a layout plan that includes the number of speakers, their positions, and the required angles.
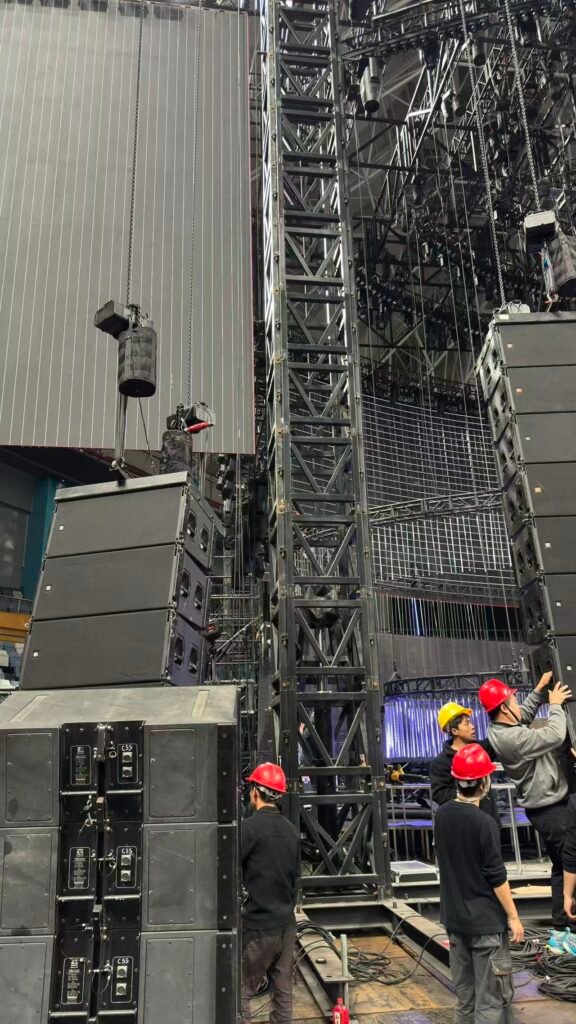
- Prepare the Rigging System:
- Assemble the Rigging Hardware: Follow the manufacturer’s instructions to assemble the rigging hardware, ensuring all components are securely fastened.
- Install the Rigging Frame: Mount the rigging frame at the designated mounting points, making sure it is level and secure.
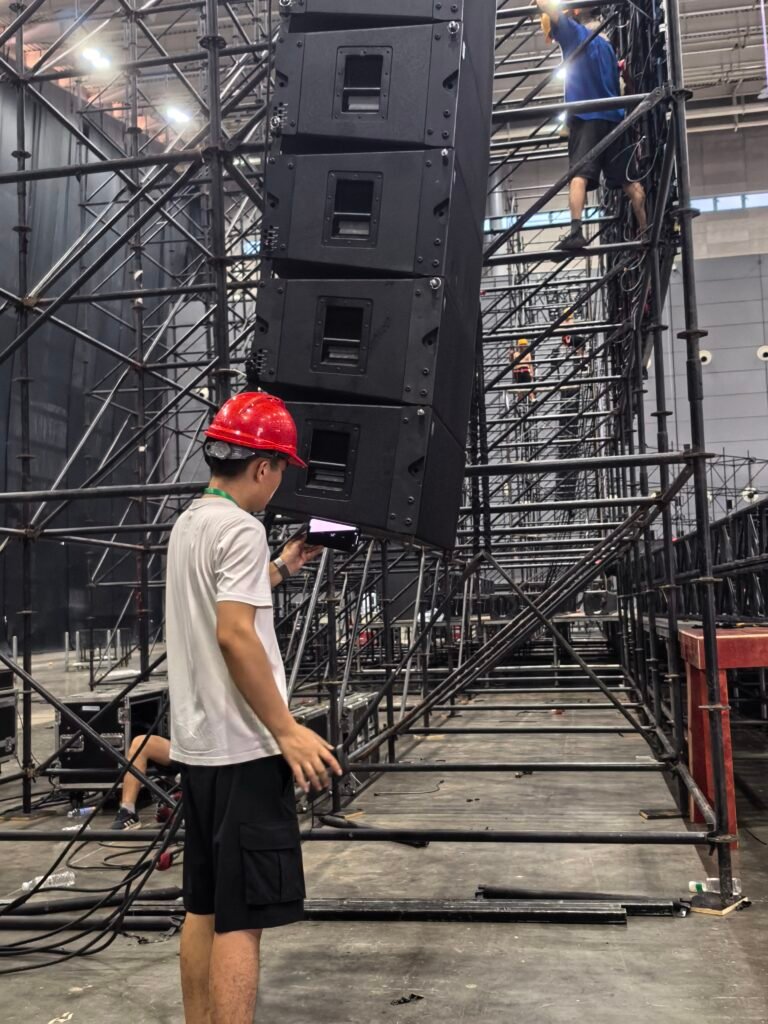
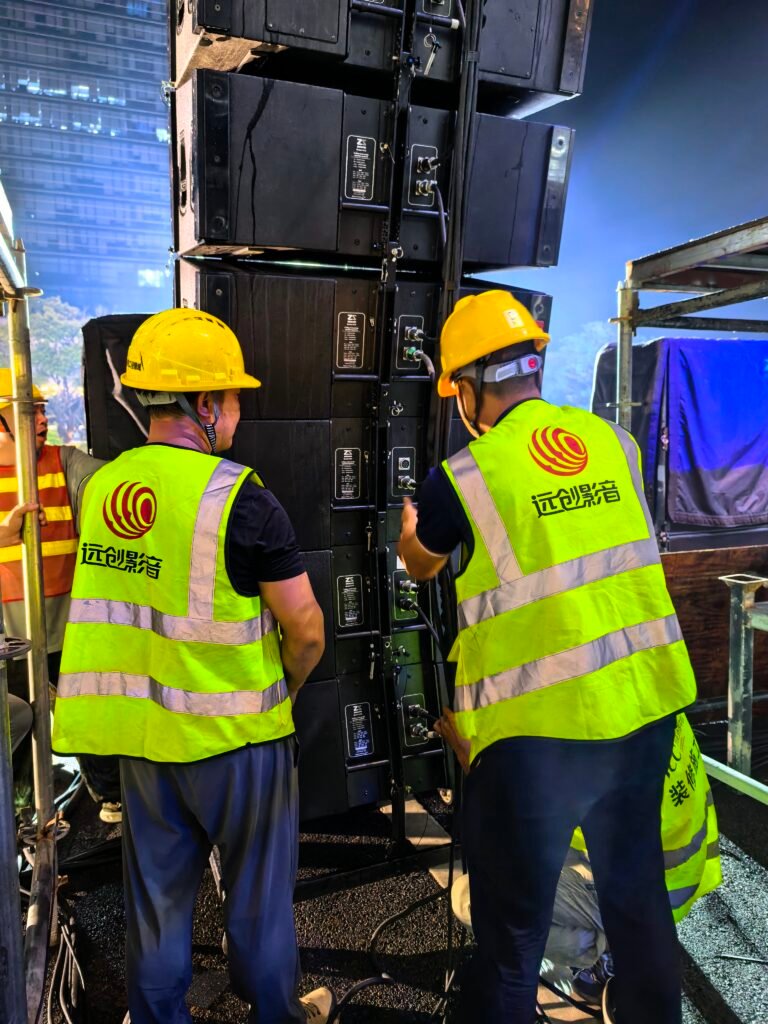
- Mount the Speakers:
- Attach the Speakers to the Rigging Frame: Connect each speaker to the rigging frame, starting from the bottom and working your way up.
- Adjust the Angles: Adjust the angles of the speakers according to the layout plan. This ensures even sound coverage and minimizes interference.
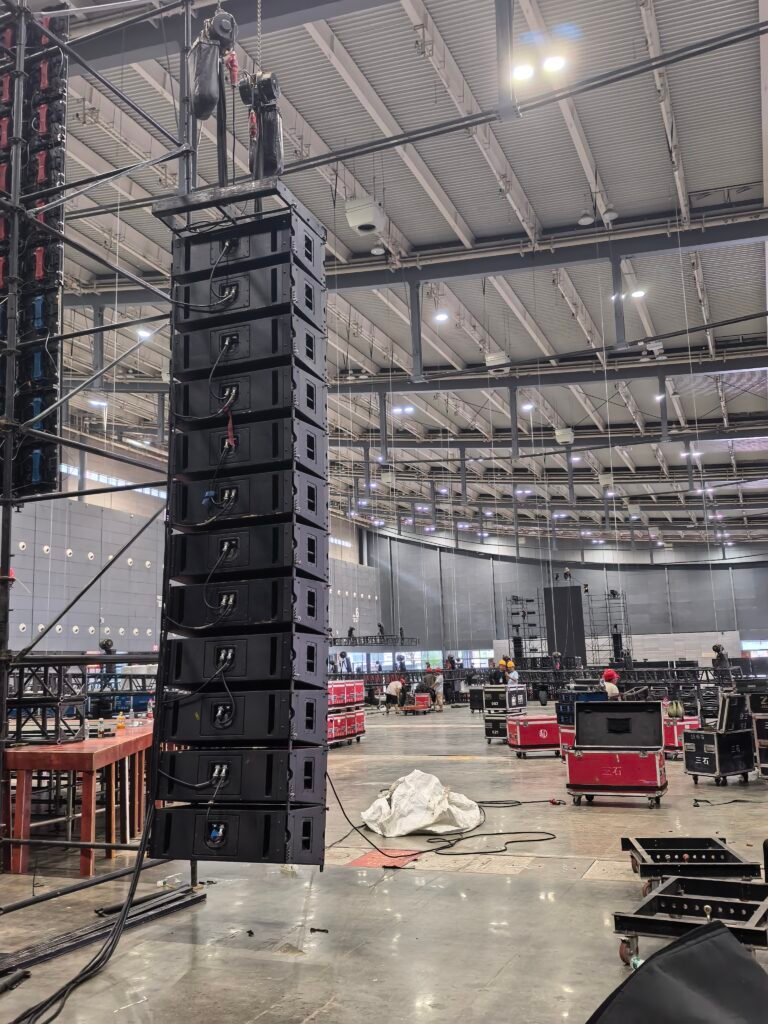
- Connect the Speakers:
- Wiring the Speakers: Connect the speakers to the amplifier or power source. Ensure that the wiring is done correctly and securely.
- Test the Connections: Perform a preliminary test to ensure that all connections are working properly.
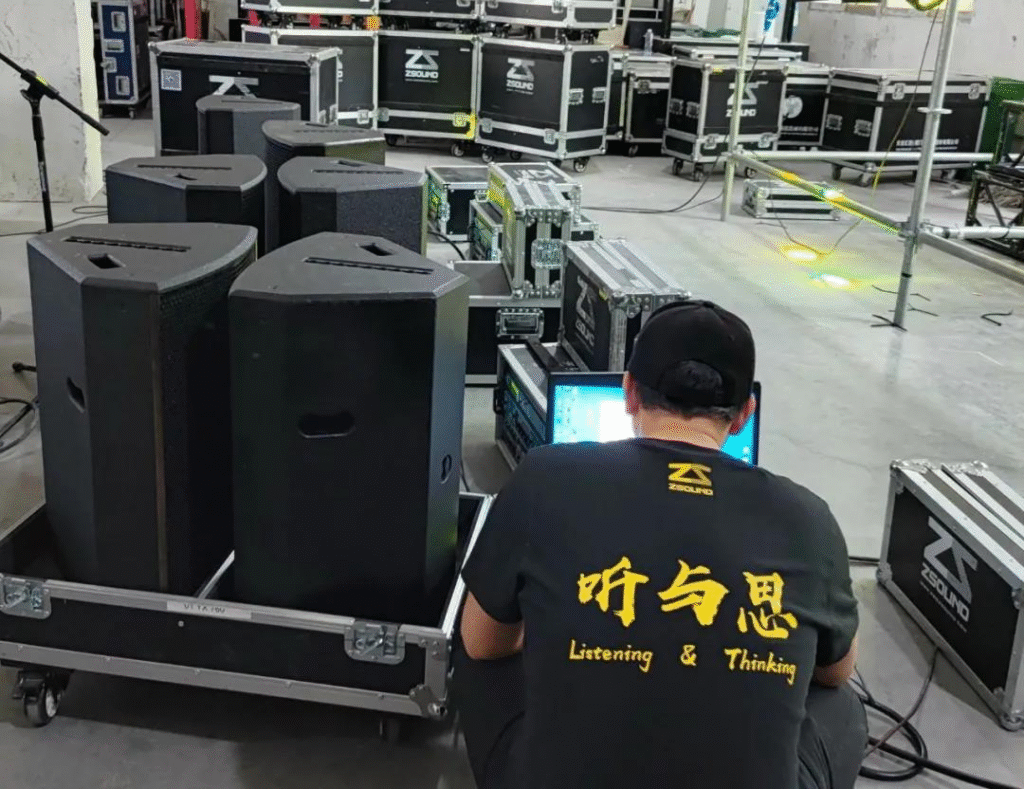
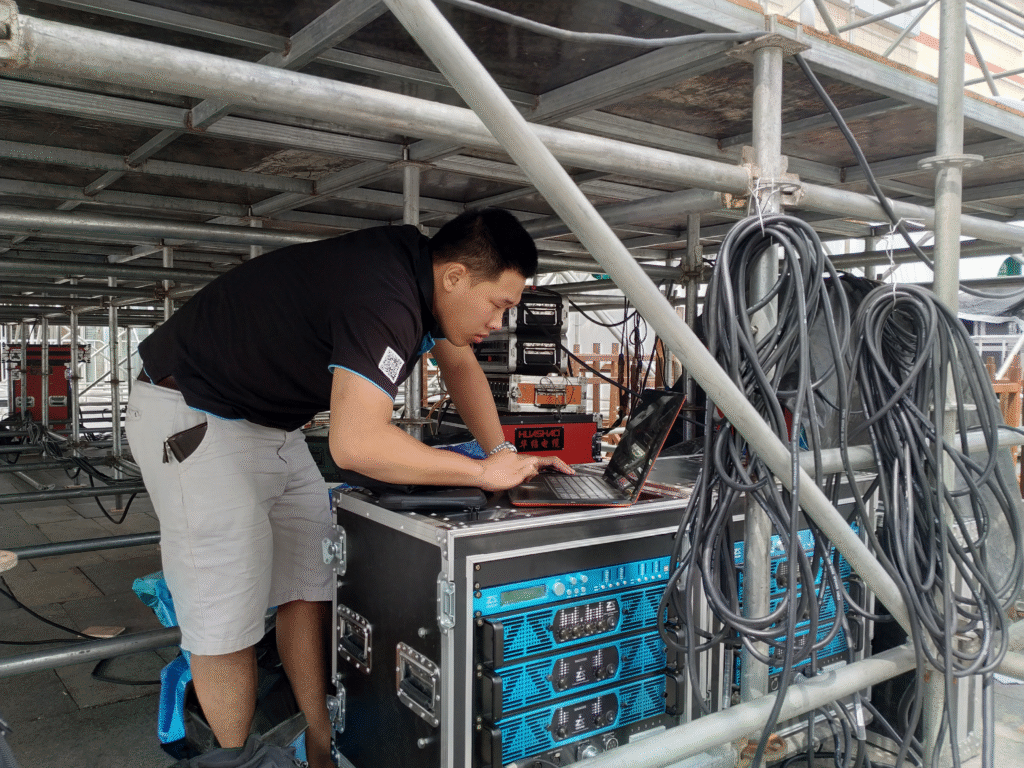
- System Calibration and Tuning:
- Use DSP Software: Utilize DSP software to calibrate the system. This includes setting the crossover points, equalization, and delay compensation.
- Perform a Sound Check: Conduct a thorough sound check to ensure that the system is performing as expected. Make any necessary adjustments to the settings.
Debugging Tips
- Common Issues:
- Uneven Sound Coverage: If you notice uneven sound coverage, check the angles and positions of the speakers. Adjust them as needed.
- Feedback and Distortion: Feedback and distortion can be caused by improper placement or incorrect settings. Use a real-time analyzer (RTA) to identify and correct these issues.
- Software Tools:
- Ease Focus 3: This software is invaluable for simulating and optimizing the sound coverage of line array speakers. It allows you to visualize the sound field and make precise adjustments.
- DSP Software: Most modern line array speakers come with built-in DSP capabilities. Use the manufacturer’s software to fine-tune the system.
Case Study: Successful Installation
Let’s take a look at a successful installation of the LA110-E line array speakers in a theater:
- Venue: A medium-sized theater with a capacity of 500 seats.
- Requirements: Even sound coverage, high SPL, and minimal visual impact.
- Solution:
- Speakers: 8 units of LA110-E.
- Rigging System: Custom-designed rigging frame with adjustable angles.
- Installation Process:
- Site Survey: Measured the theater and identified the best mounting points.
- Layout Plan: Created a layout plan using Ease Focus 3.
- Installation: Mounted the speakers and adjusted the angles for optimal coverage.
- Calibration: Used the built-in DSP to calibrate the system.
- Result: The theater achieved even sound coverage with high clarity and minimal visual impact.
Line Array Speaker Design and Installation
Leave a Reply